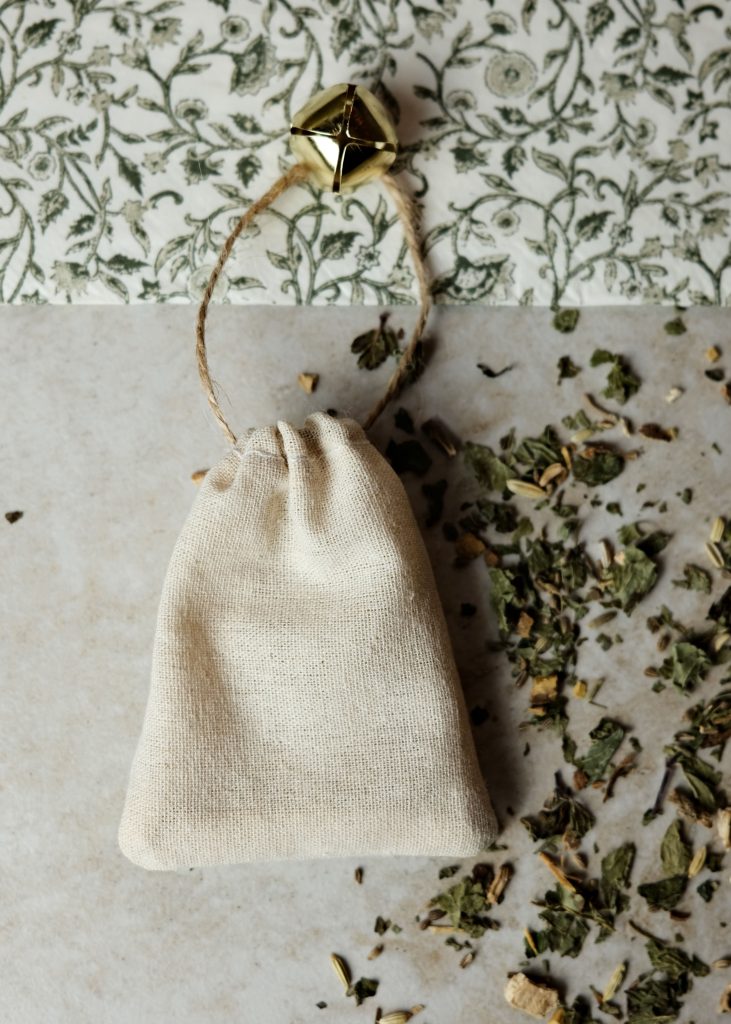
DIY: Reusable cotton tea bags
Here's a project I loved making, and I'm sure it will appeal to all loose tea lovers!
As we all know, industrial tea bags aren't always the best friends of the environment, and sometimes even of our health, with their rather dubious ingredients. So why not opt for an ecological and sustainable alternative?
Today, I'm getting out the needle and thread for a really fun DIY workshop: creating your own reusable tea bags. It's both gratifying to make them yourself, and the result is so practical... not to mention adorable!
And that's not all: these little personalized bags also make perfect gifts. Giving something handmade, simple and thoughtful is always a great way to please. So, are you ready to get started?
A little tip To guarantee 100% natural infusion and avoid the presence of chemicals, consider choosing an organic fabric. Organic cotton is ideal for this type of project, as it is soft, resistant and free from harmful treatments.


Material
For 1 bag:
2 pieces of 10×12 cm cotton fabric
1 large needle
string
a pair of scissors
a sewing machine
or
a fine needle and light thread
a bell
Manufacturing

1. Fabric preparation
Start by cutting out two 10 cm x 12 cm fabric rectangles. To ensure clean, residue-free use, immerse them in boiling water for a few minutes. This cleans and sterilizes them effectively. Once out of the water, let them air-dry on a clean cloth.
2. Prepare hem for twine
Take each fabric rectangle and fold a 10 cm edge by about 1 cm. This fold will create a passage for the string. Next, sew a straight seam along this fold, making sure to leave enough space for the string to slide through easily. Tip: use a pin to hold the fold in place while sewing, to make the job easier.


3. Pass the string through the fold
Take a thin but sturdy piece of string and thread it through a needle. Insert the needle into the fold sewn into one of the rectangles, passing it gently from one end to the other.
4. Pass the string through the second rectangle
With the string still threaded through the needle, insert it into the fold of the second rectangle. Be sure to orient the fold in the same direction as the first rectangle, so that the two parts line up correctly. Gently slide the string through until it protrudes slightly on each side.


5. Assemble the two rectangles
Place the two rectangles of fabric together, with the folds facing inwards. Take the string and iron it into the fold of the first rectangle, making sure to hold the two pieces together. Adjust the string so that it is balanced on both sides.
6. Test bag closure
Once the string is in place, carefully remove the needle. Then gently pull on both ends of the string to check that the closure system is working properly. As you pull, the fabric should tighten and wrinkle. If necessary, adjust the string so that it runs smoothly.


7. Assemble the sides of the bag
Loosen the string opening for easier access, then align the two fabric rectangles, edge to edge. Once properly positioned, sew together the three remaining sides (the two long sides and the bottom) using a straight seam. Be sure to leave a small margin of about 0.5 cm to prevent the edges from fraying.
8. Reinforce bag edges
Turn the fabric inside out so that the folds of the opening are now visible on the outside. This creates a clean, seamless interior. Next, sew a second seam around all three sides, this time leaving a slightly wider margin of about 1 cm.


9. Checking finishes
Turn your fabric over one last time. You shouldn't see any seams on the sides now, which confirms that the finishing is clean and well done.
10. Decoration
Finally, attach a bell to the end of the string to hold the bag together. If you don't have a bell, other ideas such as a small bread apple, a cinnamon stick, half a slice of dried orange, an acorn or an aniseed star work just as well. title for this text

Maintenance
After use, rinse the bag quickly to remove any tea residue. Leave to air-dry on a clean surface. You can store the bag in a glass jar or airtight tin.


