DIY: The perfect beach bag to sew yourself this summer
In this article, I will show you how to sew a practical beach bag for the summer.
You always end up lugging around a thousand things when you go out for the day: towels, sunglasses, a book, a bottle of water, sunscreen... So you need a sturdy bag that's big enough to carry everything.
So rather than buying another one, why not sew it yourself? It's simple, economical, and above all, it allows you to choose the fabrics and colors you like.
This bag is perfect for beach vacations, but also for going to the pool or for a picnic in the park.The tutorial is easy to follow, even if you're new to sewing, like me!
Required material
Striped terry fabric:
Allow 1 meter by 1 meter (or 1 meter by 70 cm if the fabric width allows) for cutting:
1 rectangle measuring 62 cm x 100 cm (the body of the bag),
2 strips measuring 85 cm x 10 cm (the handles).
White sewing thread (or thread that matches your fabric)
Sewing machine
Pins or clips to hold the pieces in place
Sewing scissors
How to make it
Step 1 – Cutting the pieces
To make this beach bag, I used striped terry cloth, which is both absorbent and durable, perfect for summer.
To be cut out:
– 1 large piece of fabric measuring 62 cm high (in the direction of the horizontal stripes) and 100 cm long.
In the photo, this piece is folded in half lengthwise (i.e., the two 62 cm sides are superimposed). This allows the front and back of the bag to be formed directly in one piece, without a seam at the bottom.
– 2 strips measuring 85 cm x 10 cm for the handles.
Step 2 – Create a neat border at the top of the bag
Before assembling the bag, start by preparing a clean finish on both upper edges, i.e., the two 62 cm ends.
Fold each edge inward (toward the wrong side of the fabric) about 3 cm and hold the fold in place with clips or pins.
This gives the top of the bag a nice finish once it is finished. Then sew along the fold with a sewing machine to secure the border.
Step 3 – Assemble the sides of the bag
Once the top edges are finished, we move on to assembling the body of the bag.
Fold the large rectangle in half, right sides together, so that the horizontal strips are aligned and the fold is at the bottom of the bag. You will have a bag that is closed at the bottom, open at the top, with two side edges to be joined together.
Then pin or clip the two vertical sides of the bag, i.e. the 100 cm edges folded in half.
Sew these two sides with a sewing machine, about 1 cm from the edge.
Step 4 – Turn the bag inside out
Once both sides are sewn, you can turn the bag inside out to see the result take shape.
At this point, you have:
• A bag bottom formed by the fold of the fabric,
• Two sides neatly sewn,
• And a clean border at the top.
This is starting to look like a bag!
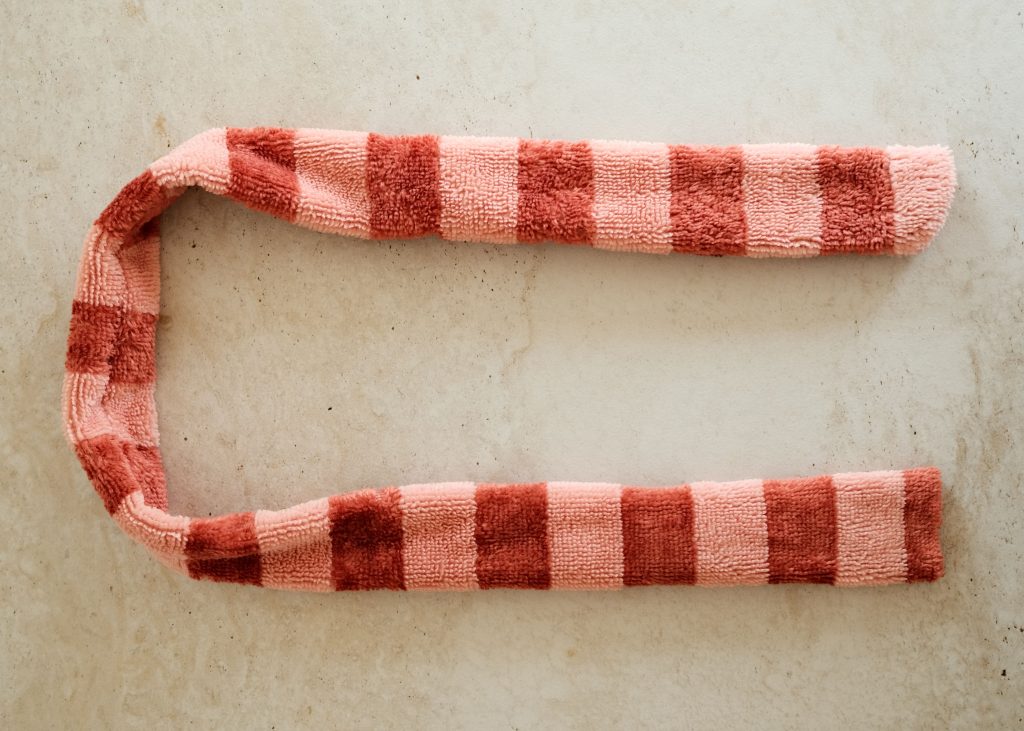
Step 5 – Prepare and sew the handles
Now we move on to making the bag handles.
For each handle:
1. Take an 85 x 10 cm strip and fold it in half lengthwise, right sides together.
2. Pin or clip the long edges together.
3. Sew along the entire 85 cm length, 1 cm from the edge.
4. Then, close one of the two ends with a perpendicular seam.
Step 6 – Turn the handle over:
Once this seam has been sewn, turn the entire strip right side out, so that the attractive striped side is facing outwards.
To do this, slide your fingers into the open end and gradually push the fabric inside until it comes out the other end (the closed end). Be patient, as this may take a little time, especially with thick fabric. Once the fabric has been turned inside out, sew the second end to close it.
Step 7 – Attach the handles to the bag
Now that the handles are turned inside out, it's time to attach them to the bag!
1. Position each handle on the right side of the bag, placing the ends of the handle against the top edge of the bag (where the border is already sewn).
2. Space the two ends of each handle approximately 20 cm from the outer edge of the bag so that they are centered.
3. Check that the handle does not twist, then pin or clip it securely in place.
Tip: To ensure that both handles are symmetrical, you can fold the bag in half and mark the middle before placing the handles.
Next, sew each end of the handle with a strong stitch, making two parallel stitches.
Then repeat the process for the second handle on the other side of the bag.
Important: make sure it is properly aligned with the first one for a harmonious look and comfortable fit.
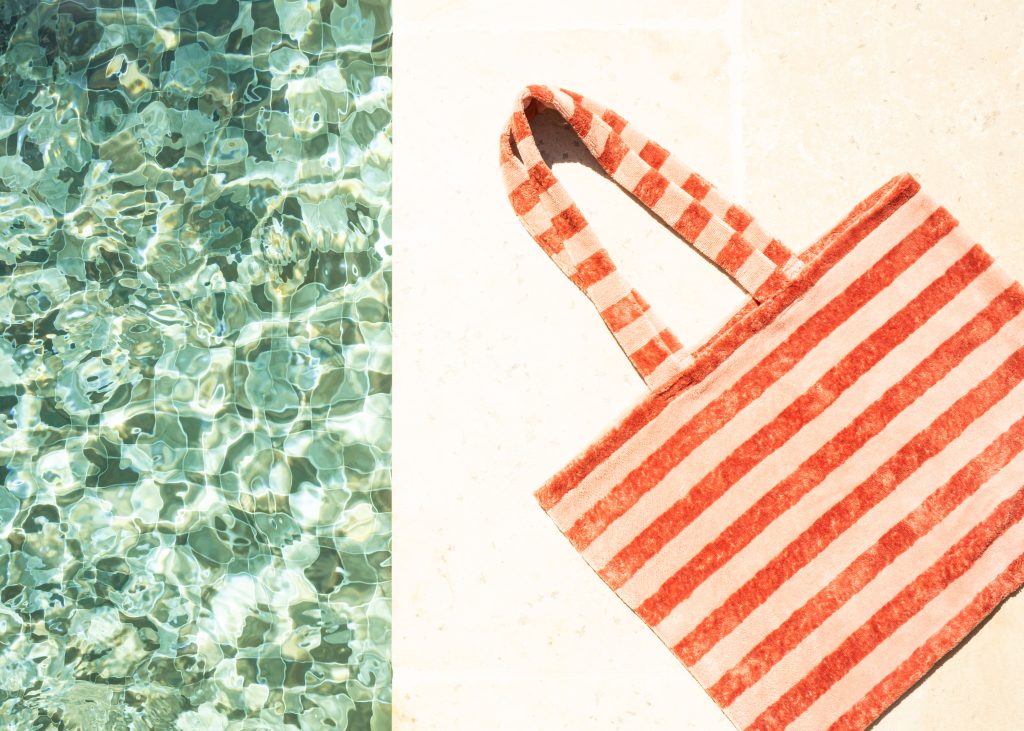
There you go, your beach bag is ready! It's simple, practical, and homemade—perfect for heading out to enjoy the sun!