DIY: Create shell coasters using self-hardening clay
In this article, I'll show you how to make a fun and easy DIY project: coasters made from self-hardening clay in the shape of seashells.
This is a simple modeling project that you can do at home, even if you are a beginner. These coasters are perfect for everyday use or for a slightly more formal table setting. They can even make a nice little handmade gift that is personalized and original. Self-hardening clay is pleasant to work with, dries in the open air, and does not require to be put in an oven. It is a creative, relaxing activity that anyone can enjoy. Perfect for a quiet moment at home!
Below I explain the process step by step: from modeling to drying, with a few tips for a beautiful result.
For this project, I used:
For 6 coasters:
500g self-hardening clay
1 white cardstock sheet
1 rolling pin
1 modeling spike
1 modeling knife
1 sponge and a little water
1 ruler
sandpaper
acrylic paint
1 paintbrush
1 matte finish varnish
How to make it
1. Draw the model
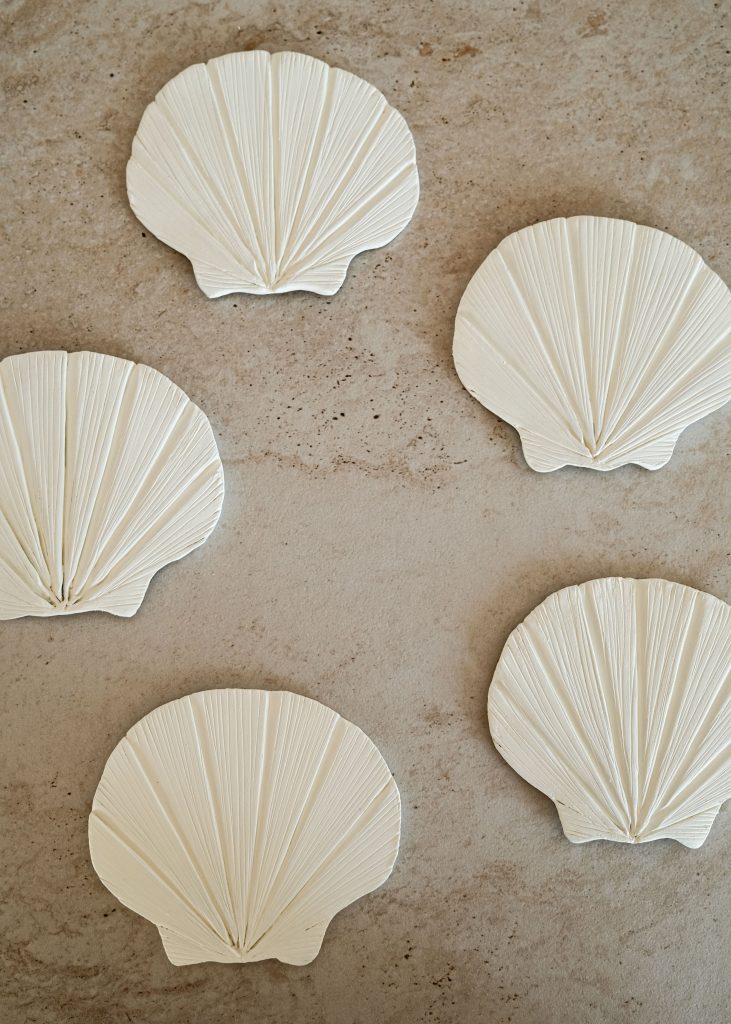
Start by drawing the shape of the shell you want on a thick sheet of paper (such as drawing paper), then cut it out. This shape will serve as a template. Cut out a piece of clay the same size as the one in the photo.
2. Spread the clay
Roll out the piece of clay with a rolling pin to a thickness of about 1.5 to 2 cm.
3. Cut out the shape from the clay.
Place the paper template on the spread clay, then trace the outline using a small pointed tool (such as a modeling tool or wooden skewer). Then cut around the outline to create the shell shape.
4. Smooth the edges
Using a small, slightly damp sponge, gently smooth the edges of the shell. This will soften the edges. Be careful not to wet the clay too much, as this will cause it to become brittle as it dries.
5. Draw the main lines
Using a ruler, draw eight straight lines across the entire surface of the shell and two small lines at the base. These are the main lines.
6. Digging the lines
Using the tip of a small plastic knife, carefully carve out the 7 lines to give them a slightly curved shape. Do not carve too deeply, but enough to clearly mark the relief.
7. Add secondary lines
Between each main line, draw lots of small lines close together using a ruler. These finer lines will give the shell more detail and texture.
Before allowing it to dry, take a moment to correct any minor imperfections. Use the tip of a knife or a slightly damp sponge to smooth out any areas that need it. Once dry, it will no longer be possible to make these adjustments (except for light sanding).
8. Allow to dry
Leave the piece to dry in the open air for around 48 hours. To prevent the clay from warping, try to keep the shape flat by gently flattening it with your hand.
During the first few hours, you can turn the shell over every two hours and gently flatten it.
As soon as the clay begins to harden, do not touch it anymore to avoid breaking it. Do not place it in the sun or near a heat source: drying too quickly can cause the shape to warp.
It is normal for it not to be perfectly flat once dry—that is also part of the object's charm.
9. Sand down any imperfections
Once the clay is completely dry (after 48 hours), sand down any small imperfections with sandpaper. Smooth out the edges of the shell, the back (the side that was resting on the table), and any lines if there are any irregularities.
After sanding, remove all dust using a small dry brush or by gently blowing it away. This step is important to ensure that the surface is clean before finishing.
10. Paint the shell
If you choose to paint your shell, start with a light first coat using very little paint so as not to block the engraved lines. Use the edge of the brush and apply the paint in the direction of the lines, from bottom to top. Leave to dry for 10 to 15 minutes, then apply a second coat with a little more coverage, still in the same direction. Finally, paint the edges and underside of the piece for a uniform finish. Leave to dry for 1 to 2 hours.
To protect the piece, apply a coat of varnish, either matte or glossy depending on the desired finish. Spread the varnish evenly, without applying too much, only on the top of the shell (the visible part). There is no need to apply it underneath.
Let dry for about 2 hours.
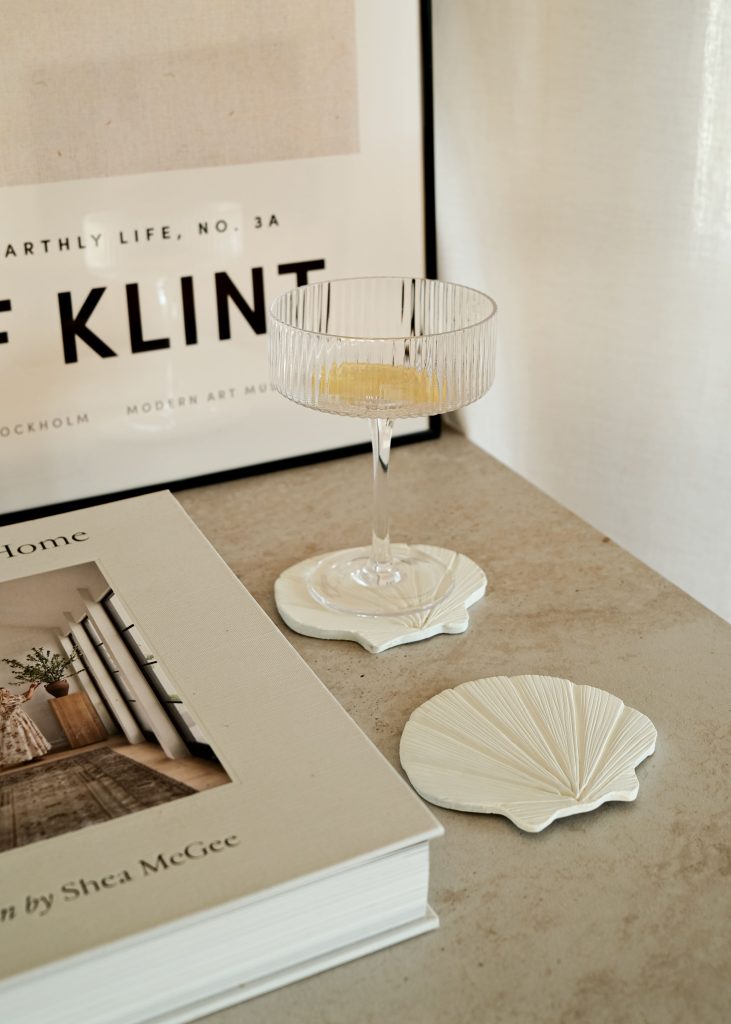
And there you have it, your seashell coaster is now complete and ready to use!